April 18, 2023

Article

3:01 PM

admin
Welcome to our comprehensive guide on the Cisco Meraki MS120-24-HW switch, designed to help you make the most of this powerful piece of network hardware. In this article, we’ll dive into the details of the MS120-24-HW and explore its key features, installation and setup process, management and monitoring capabilities, and much more. Get ready to level up your enterprise networking game with this handy guide!
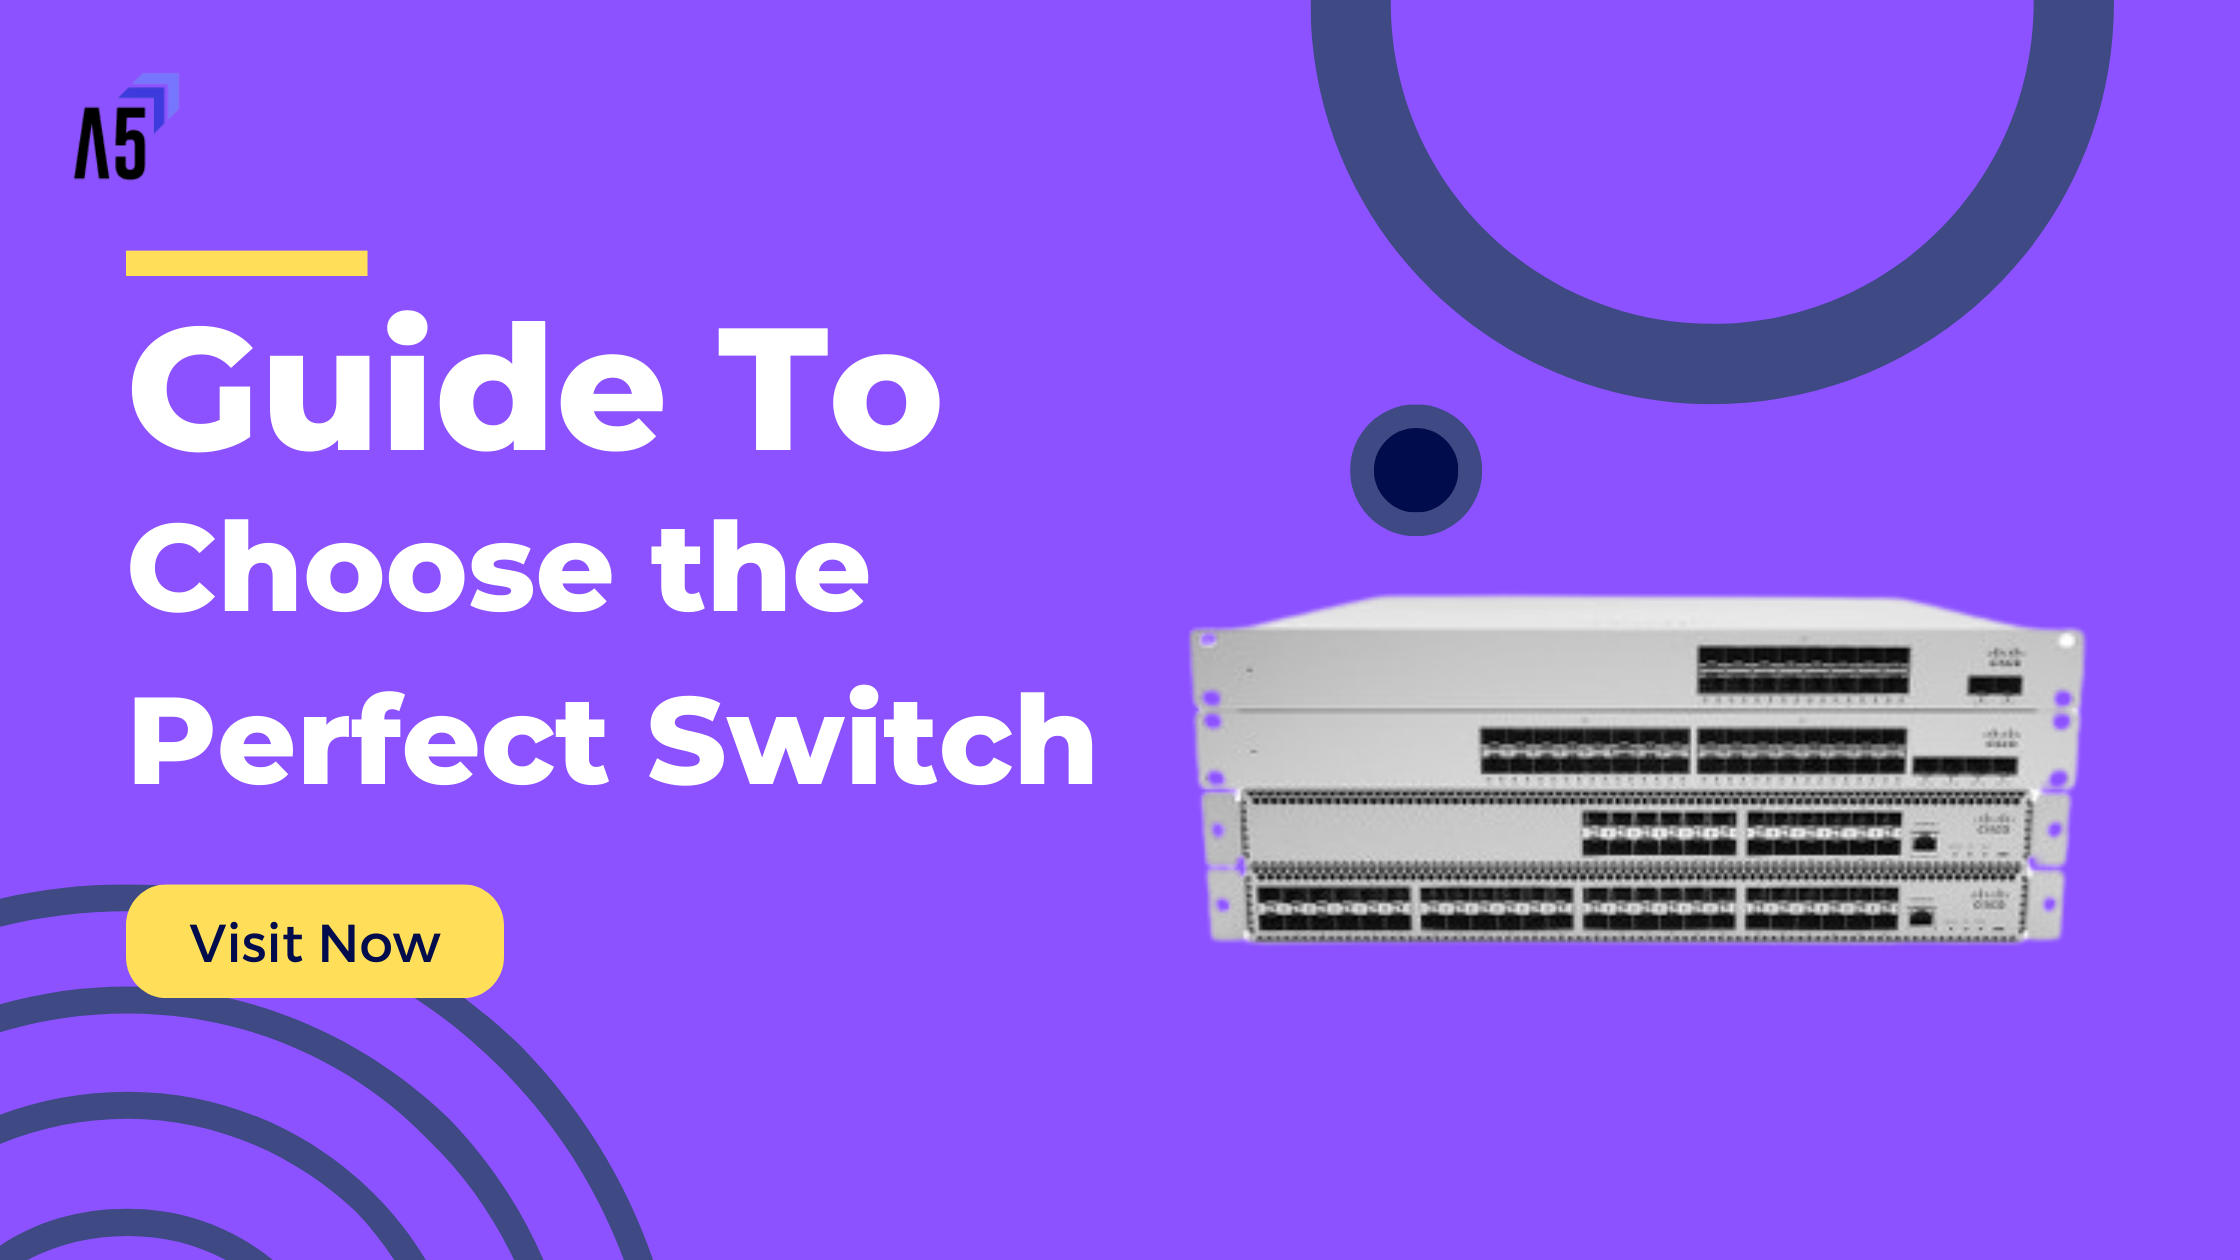
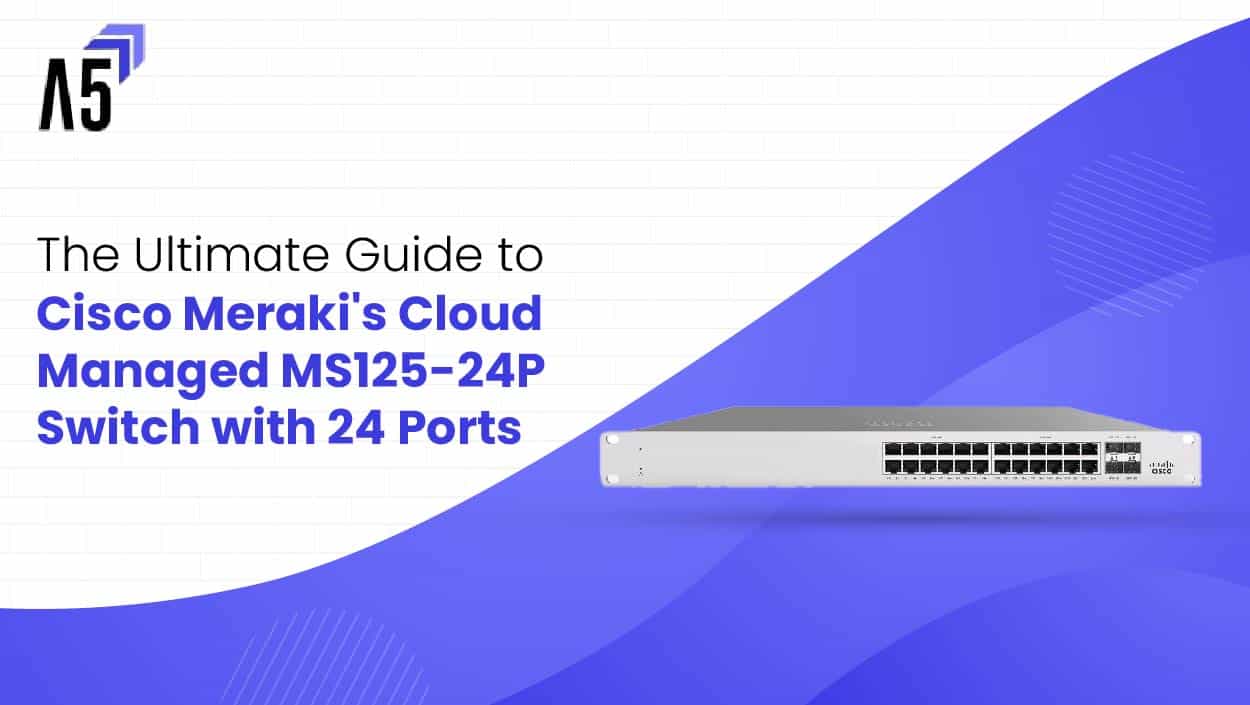
The Cisco Meraki MS120-24-HW is a cloud-managed Layer 2 access switch designed for small to medium-sized businesses and organizations. With its 24 auto-negotiating Gigabit Ethernet ports and powerful management capabilities, this switch helps you create a reliable and high-performing network infrastructure that is both scalable and secure.
This guide aims to provide you with detailed information about the MS120-24-HW, helping you understand its features, installation process, and best practices. By the end of this guide, you’ll be well-equipped to make an informed decision about whether this switch is the right fit for your organization and how to maximize its potential.
In this guide, you can expect to learn about the following topics:
So, let’s dive into the world of the Cisco Meraki MS120-24-HW and explore everything it has to offer!
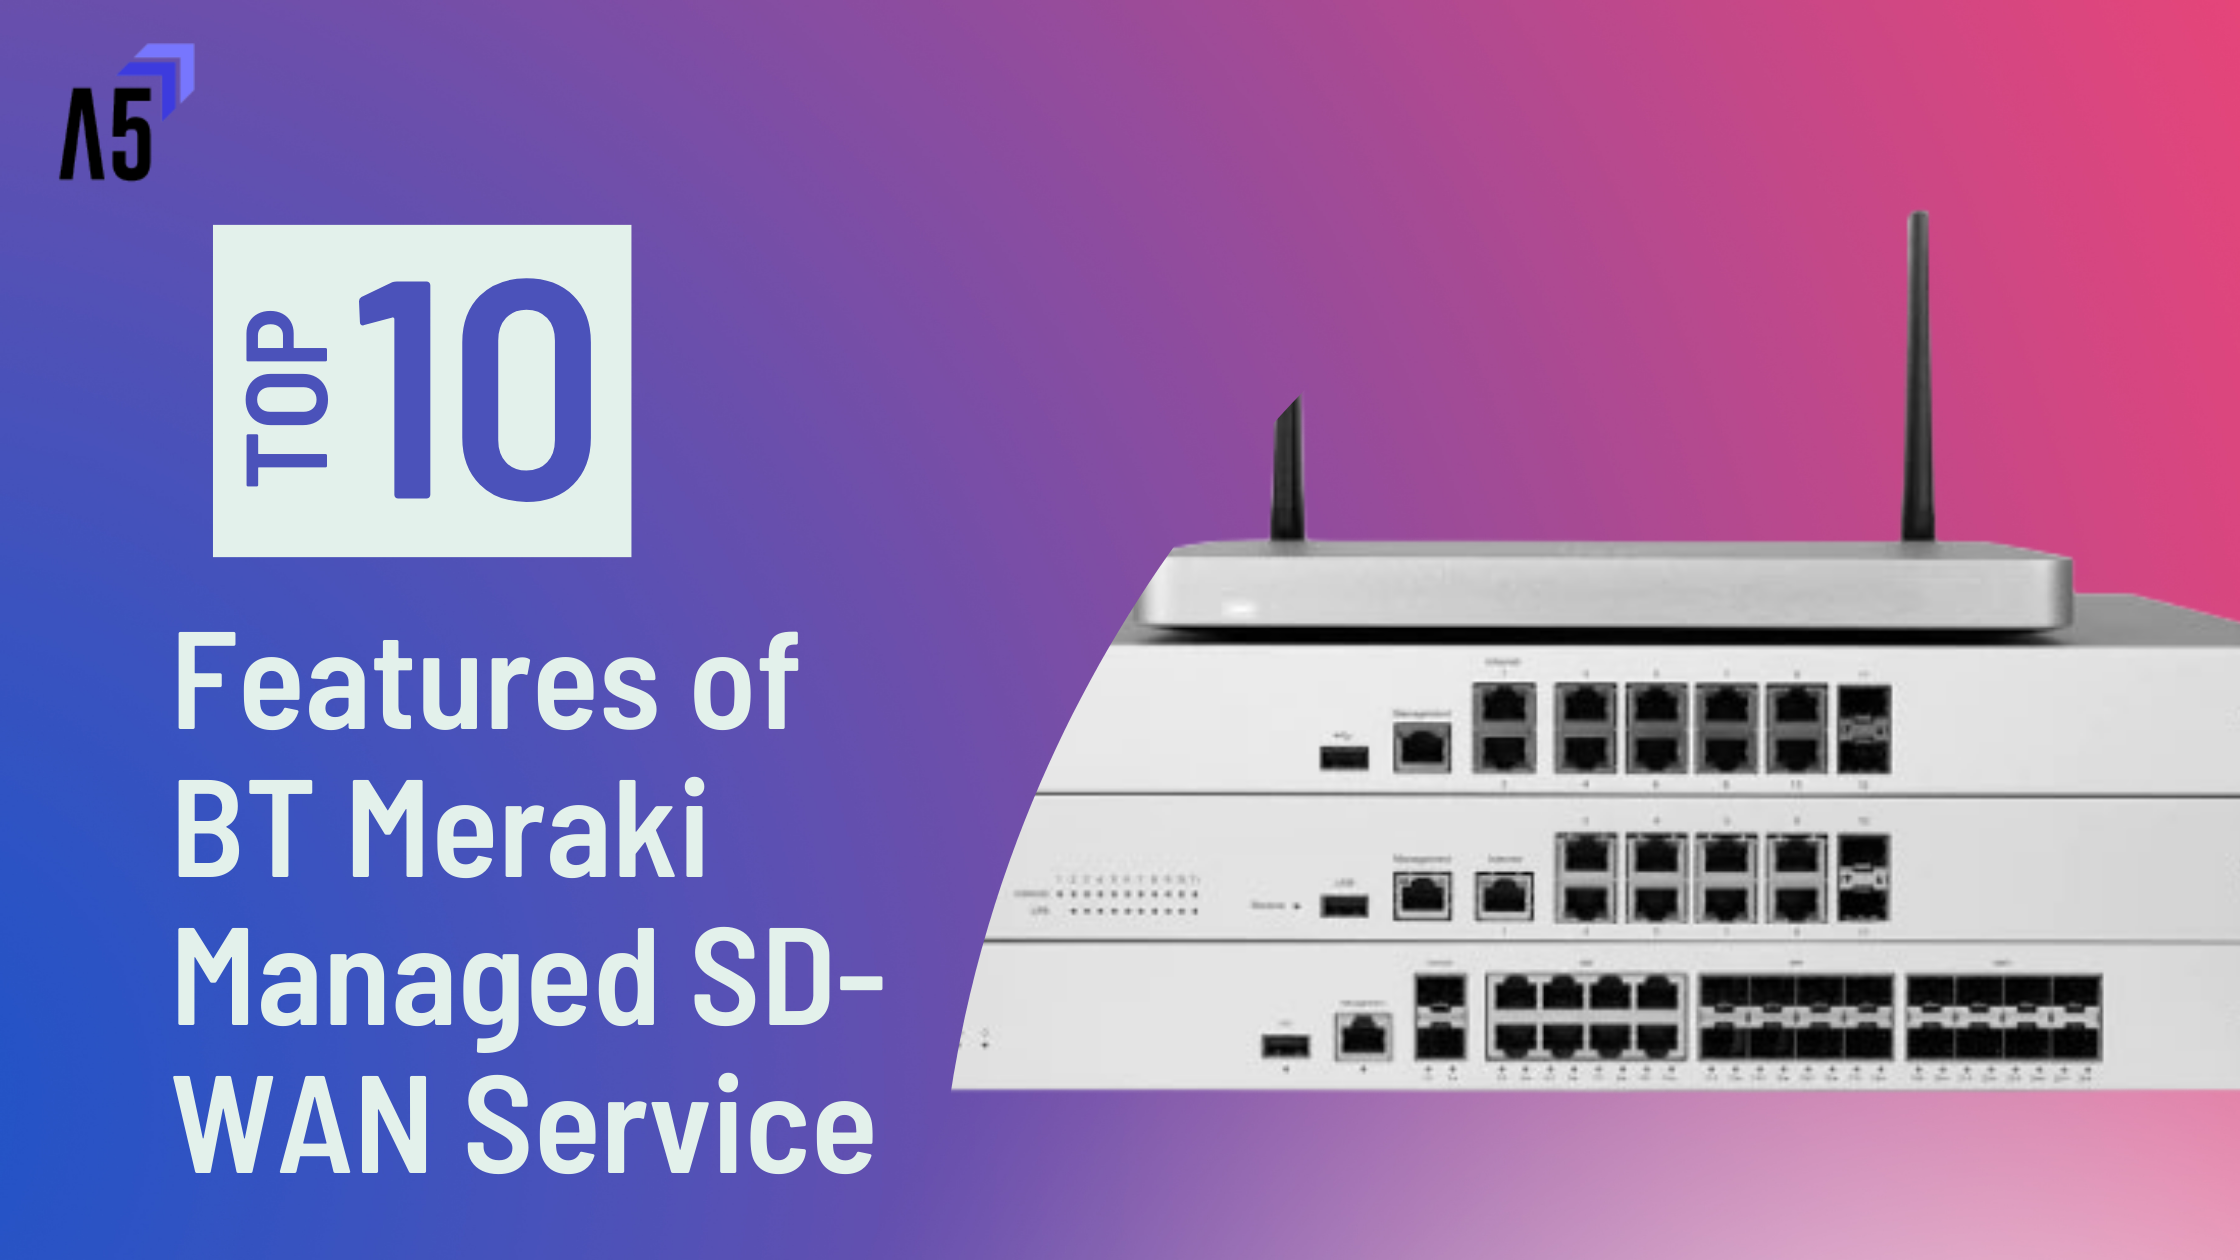
The MS120-24-HW comes with 24 auto-negotiating Gigabit Ethernet ports, offering a non-blocking switching capacity of up to 52 Gbps. It also features two SFP ports for uplink connectivity and a single power supply unit.
As a Layer 2 access switch, the MS120-24-HW supports standard Layer 2 protocols such as 802.1Q VLAN tagging, Spanning Tree Protocol (STP), and Rapid Spanning Tree Protocol (RSTP). Additionally, it offers Layer 3 features like static routing and DHCP server functionality.
The Meraki MS120-24-HW leverages Meraki’s cloud-based networking platform, allowing you to manage, monitor, and troubleshoot your network from anywhere with an internet connection. This makes it easier to maintain and optimize your network infrastructure.
The MS120-24-HW switch supports Quality of Service (QoS) settings, enabling you to prioritize specific types of network traffic to ensure optimal performance for critical applications and services.
While the MS120-24-HW does not offer native PoE capabilities, there is a separate PoE model (MS120-24P-HW) available, which provides PoE and PoE+ support for devices such as IP phones and access points.
Before installing your MS120-24-HW switch, you’ll need to ensure you have the necessary hardware, such as mounting brackets, screws, and cage nuts. You should also make sure you have an active Meraki cloud license for your switch.
The Meraki Dashboard is your central hub for managing and monitoring your MS120-24-HW switch. Through the Dashboard, you can access features like:
The Meraki Dashboard offers various tools for monitoring network performance, such as:
The Meraki platform offers a range of APIs that allow you to integrate your MS120-24-HW switch with third-party software and automate various tasks. These APIs include:
The MS120-24-HW is a great fit for small to medium-sized businesses, offering reliable performance, scalability, and ease of management through the Meraki Dashboard.
The switch is ideal for hotels, restaurants, and entertainment venues, providing robust network infrastructure for guest access, POS systems, and other critical services.
Schools and universities can benefit from the MS120-24-HW’s powerful features, ensuring a reliable and secure network for students, faculty, and staff.
With its cloud-based management and high-performance capabilities, the MS120-24-HW is an excellent choice for healthcare organizations, ensuring secure and reliable access to patient records, telemedicine services, and other critical applications.
The MS120-24-HW is part of the Meraki MS120 series, which also includes models with different port counts and PoE capabilities. When compared to other Meraki switches, such as the MS210 or MS250 series, the MS120-24-HW offers an affordable option for smaller networks while still maintaining core Meraki features like cloud-based management and reliable performance.
When compared to non-Meraki switches, the MS120-24-HW stands out due to its cloud-based management capabilities and the ease of deployment offered by the Meraki Dashboard. While other switches may offer similar performance or features, the MS120-24-HW’s simplified management experience can save time and effort for IT teams.
The Cisco Meraki MS120-24-HW switch offers a powerful and reliable networking solution for small to medium-sized businesses and organizations. With its cloud-based management, robust features, and ease of installation, the MS120-24-HW is an excellent choice for those looking to optimize their network infrastructure and enhance their overall network performance.
If you’re in the market for a scalable, easy-to-manage switch that offers robust performance and security features, the Cisco Meraki MS120-24-HW is an excellent option to consider. Its cloud-based management and powerful capabilities make it a valuable addition to any network infrastructure.
The Cisco Meraki MS120-24-HW is a cloud-managed Layer 2 access switch with 24 Gigabit Ethernet ports, designed for small to medium-sized businesses and organizations.
Benefits of using the MS120-24-HW switch include its cloud-based management, ease of installation, scalability, robust performance, and security features.
Setting up the MS120-24-HW involves physically installing the switch, connecting devices and uplinks, and configuring the switch through the Meraki Dashboard.
Key features of the MS120-24-HW include its 24 Gigabit Ethernet ports, Layer 2 and Layer 3 capabilities, cloud-based management, Quality of Service (QoS) settings, and optional PoE support with the MS120-24P-HW model.
Troubleshooting the MS120-24-HW involves using the Meraki Dashboard’s built-in tools, checking for firmware updates, and contacting Meraki Support if necessary.
The MS120-24-HW switch is managed through the Meraki Dashboard, which allows you to configure settings, monitor network performance, and troubleshoot issues.
Best practices include planning your VLAN structure, prioritizing traffic using QoS settings, and regularly monitoring network performance through the Meraki Dashboard.
Use cases for the MS120-24-HW include small to medium-sized business networks, hospitality and entertainment venues, educational institutions, and healthcare organizations.
The MS120-24-HW offers an affordable and reliable option for smaller networks, while still providing core Meraki features like cloud-based management and robust performance.
The MS120-24-HW seamlessly integrates with other Cisco Meraki products, such as access points, security appliances, and cameras, through the Meraki Dashboard. This allows for a unified management experience and simplifies network administration tasks.
The MS250-48LP-HW is a larger, more advanced switch compared to the MS120-24-HW. Deployment scenarios for the MS250-48LP-HW include larger business networks, data centers, and organizations with higher port density requirements and more advanced Layer 3 routing needs.
Cisco Meraki offers various licensing options for their switches, including 1, 3, 5, 7, and 10-year options. These licenses include access to the Meraki Dashboard, software updates, and technical support. It is important to choose the appropriate license duration for your organization to ensure uninterrupted access to the switch’s features and management capabilities.
Share this article


Get this week's
Best Networking Content

Lorem ipsum dolor sit amet consectetur. Integer blandit nunc viverra pharetra. Risus feugiat libero vitae dui id bibendum nunc. Tempus dui ornare elit pellentesque.